

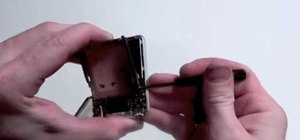
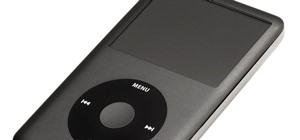
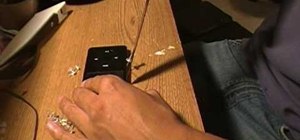
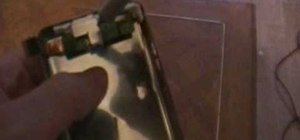
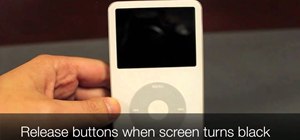
In this tutorial, we learn how to take apart an iPod Nano 3rd generation for repair. First remove the back casing using a guitar pick. Next, use a flat tool to lift up the battery carefully and remove it from the casing. You will see three wires that lead to the launch board, which are soldered into place. Now, use the flat tool to remove the back of the battery casing from the device. Now, remove the logic board by removing the 6 small screws inside of it. Next you will remove the LCD by lifting the wire tabs that are around it. Now everything can be removed, and you can repair what is broken on your device!
Just updated your iPhone? You'll find new emoji, enhanced security, podcast transcripts, Apple Cash virtual numbers, and other useful features. There are even new additions hidden within Safari. Find out what's new and changed on your iPhone with the iOS 17.4 update.


Be the First to Comment
Share Your Thoughts