

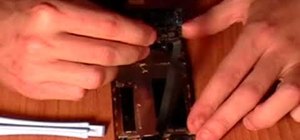
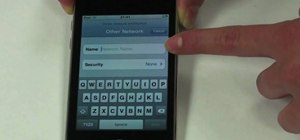
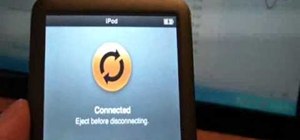
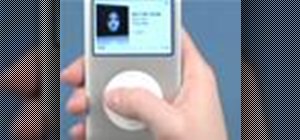
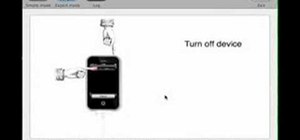
In this how to video, you will learn how to replace the touch glass screen digitizer on an iPod Touch. First, use a pry tool and run it along the sides of your iPod Touch. Once this is done, remove the cover. To remove the battery, run the pry tool along the edges and gently pry it out. Remove the black tape from the bottom to reveal screws. Now use a screw driver to remove the screws shown. Remove the screw hidden by the wires connecting the battery to the board. Next, remove the metal shielding using the pry tool. Unscrew the screws shown connecting the board to the frame. Release the two ribbons by gently lifting them off with the pry tool. Release the small board at the bottom, which is glued, with the pry tool. Pull back the ribbons to show the motherboard. Pull it back and then remove the 8 screws on the side of the frame. Now lift the lcd screen by using the pry tool to lift it out. Use the tool to release the small board at the bottom of the digitizer. The digitizer and mid section should be left. Use a blow dryer on the frame and digitizer to heat it up. Once it is heated, you can separate the two by running the pry tool along the edges. You should be able to push the screen away from the mid section. You can now replace it with the new digitizer.
Just updated your iPhone? You'll find new emoji, enhanced security, podcast transcripts, Apple Cash virtual numbers, and other useful features. There are even new additions hidden within Safari. Find out what's new and changed on your iPhone with the iOS 17.4 update.


Be the First to Comment
Share Your Thoughts