

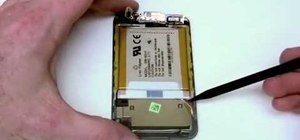
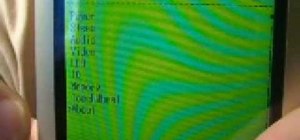
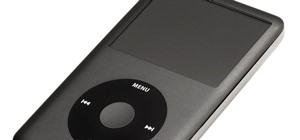
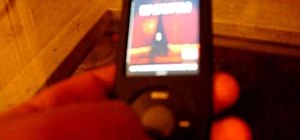
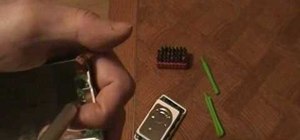
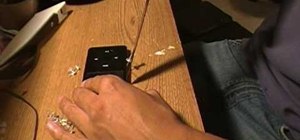
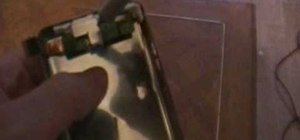
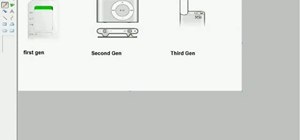
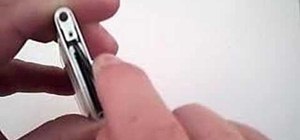
This video describes how to take apart a first generation iPod. To open the iPod, the video recommends using a putty knife or similar flat tool to gently ply open the casing. The presenter recommends being especially careful if this is the first time opening the casing. Once you have the first side open slightly wide work your way around the casing, making sure the entire casing is spread evenly around. Once all the sides are loose, the back casing just slides off. There are then two components that can be removed in the back cover, the antenna cover (held by two small Philips screws) and the power button cable and power button (held by two small Philips screws as well). The cable should be removed using a flat tool. Then the video describes how to remove the logic board, using a flat tool to pry the logic board at first (gently) and then unscrewing the Phillips screws. He then describes how to remove the antenna board by prying it off using a small flat tool once more. In the next step he describes how to remove the battery using a putty knife to remove the battery (which is held by an adhesive). He suggests being particularly gentle when prying off the battery to avoid severing cables located underneath the battery. Finally he describes how to unplug the LCD cable by prying the cables once more. The video suggests continuing this process of prying gently first and then removing each set of Philips screws, in order to remove larger parts such as the main (large) logic board, finally removing the four screws that hold it in place.
Just updated your iPhone? You'll find new emoji, enhanced security, podcast transcripts, Apple Cash virtual numbers, and other useful features. There are even new additions hidden within Safari. Find out what's new and changed on your iPhone with the iOS 17.4 update.


1 Comment
Good information Thanks!!
Share Your Thoughts